Fit, dimensions & layout
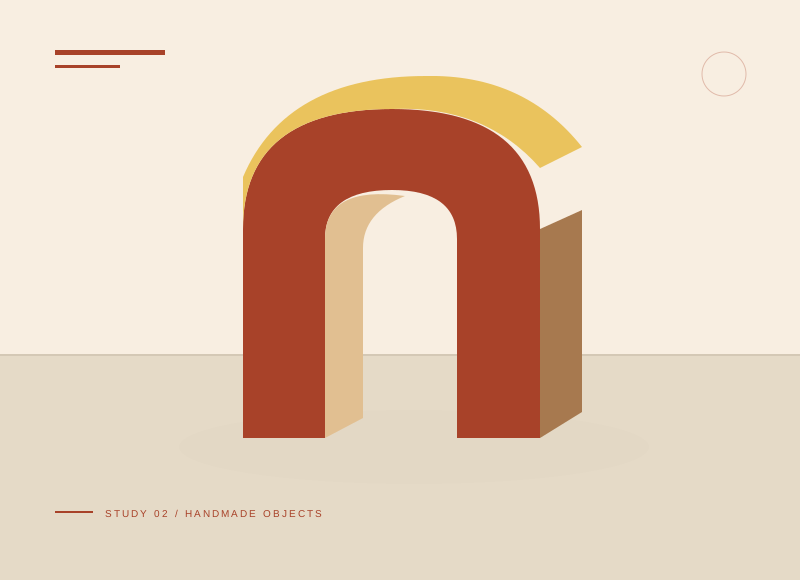
Draw the 180 × 160 mm front as an outer arch and a smaller inner opening with broad legs. The example depth is 50 mm. Make a complete scrap-card shell first: the two front faces need outer and inner connecting strips, each with glue tabs beyond the 50 mm visible depth. A paper template around the curves gives strip lengths more reliably than guessing.
The illustration is a concept, not a scale drawing or a record of a tested build. Use a full-size template or dry fit to check the written layout with your actual materials.
Gather your materials
Tools to have nearby
Choose materials deliberately
Make it, step by step
Prototype the shape
Draw a broad upside-down U with wide legs and test in scrap paper.
Cut matching faces
Use one face to trace the other, keeping the lower ends level.
Prepare depth strips
Make strips with 50 mm of visible depth plus glue tabs along both sides. Prepare an outer strip and an inner-opening strip using the paper prototype for lengths. Segment the tabs around curves.
Check before moving onAdd glue tabs outside the 50 mm depth, then snip the tabs into short segments so they can turn around the curve.
Join the shell
Connect the faces along the outside and the inner arch opening using the fitted depth strips. Keep their visible depth equal and align the two feet on a flat surface as the joints set.
Check before moving onJoin the inner opening as well as the exterior to connect both faces into a continuous shell.
Dry and balance
Keep both feet aligned while the glue dries and display away from drafts.
Troubleshoot this project
Why does the arch twist?
What to check. Connecting strips may differ in depth or one face may be offset.
Next move. Check strip widths and align both feet while the glue can still be positioned.
Why are the inner edges unfinished?
What to check. The shell needs an inner depth strip as well as an outer one.
Next move. Fit the inner strip in the prototype, allowing segmented tabs to follow its curve, before starting the final card.
The final check
Both feet sit level and the shell does not twist.
A shallow broad curve is easier to join than a tall narrow arch.
Record your actual sizes, material changes, and the result of your fit check in your project notebook. Keep the product name with any finish or adhesive sample.
Use a stable work surface and tools within your experience. Follow the exact tool and product instructions for preparation, dust control, ventilation, and cure. These decorative concepts have no structural load rating. Stop if the material or existing finish cannot be identified.