Fit, dimensions & layout
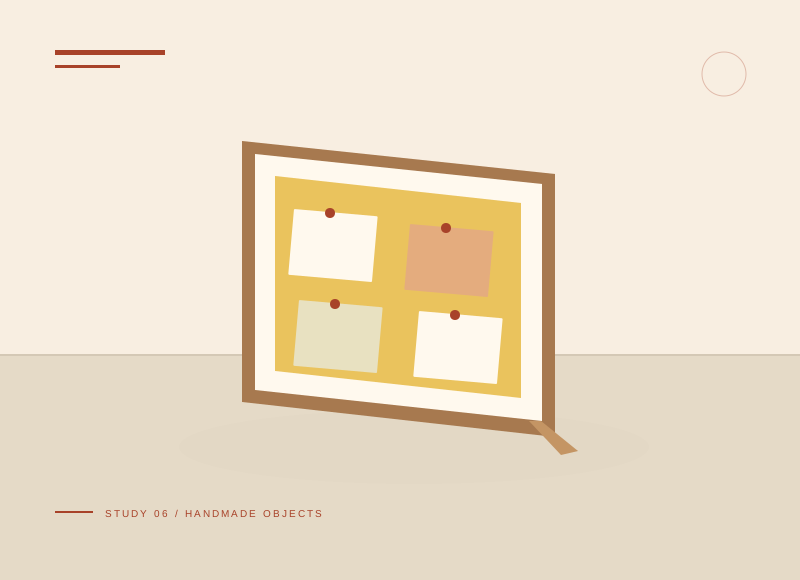
For four 100 mm square prints on a 300 mm square backing, a 10 mm center gap creates a 210 mm grid and 45 mm outer margins. If the prints have another size, calculate twice the print width plus the gap before marking the backing. Use horizontal and vertical centerlines on scrap to confirm the full composition.
The illustration is a concept, not a scale drawing or a record of a tested build. Use a full-size template or dry fit to check the written layout with your actual materials.
Gather your materials
Tools to have nearby
Choose materials deliberately
Make it, step by step
Match print sizes
Use equal outside dimensions and keep subjects away from edges.
Work out the grid
Draw a center cross on scrap and test equal gaps.
Transfer light guides
Mark small alignment ticks that can be erased later.
Check before moving onMark tiny ticks at the photo corners instead of a heavy full grid through the visible white margin.
Attach with corners
Fit the first print with photo-safe corners and repeat for the remaining three.
Review and frame
Step back, erase visible guides, and use an appropriate frame or stable stand.
Check before moving onCheck the frame opening before fitting; it should not hide the deliberate outside margins unevenly.
Troubleshoot this project
Why does one gap look narrower?
What to check. A print or mounting corner may have moved relative to its guide.
Next move. Check the full print edges with a ruler before pressing the final corners firmly.
Why is the board bowing?
What to check. The backing may be too light for the layers or have become damp.
Next move. Use a dry suitably rigid backing and corner mounting rather than broad wet-glue areas behind prints.
The final check
Prints align and remain removable without touching adhesive.
Even gaps create calm despite very different photographs.
Record your actual sizes, material changes, and the result of your fit check in your project notebook. Keep the product name with any finish or adhesive sample.
Use a stable work surface and tools within your experience. Follow the exact tool and product instructions for preparation, dust control, ventilation, and cure. These decorative concepts have no structural load rating. Stop if the material or existing finish cannot be identified.