Fit, dimensions & layout
This project covers the upright of an existing support. The base, grip surface, and book contact arrangement must remain usable. Make a paper sleeve fitted to the actual upright and leave clearance around any curved bend. Tape the sleeve to itself on the back so the decorative layer can be removed without altering the original bookend.
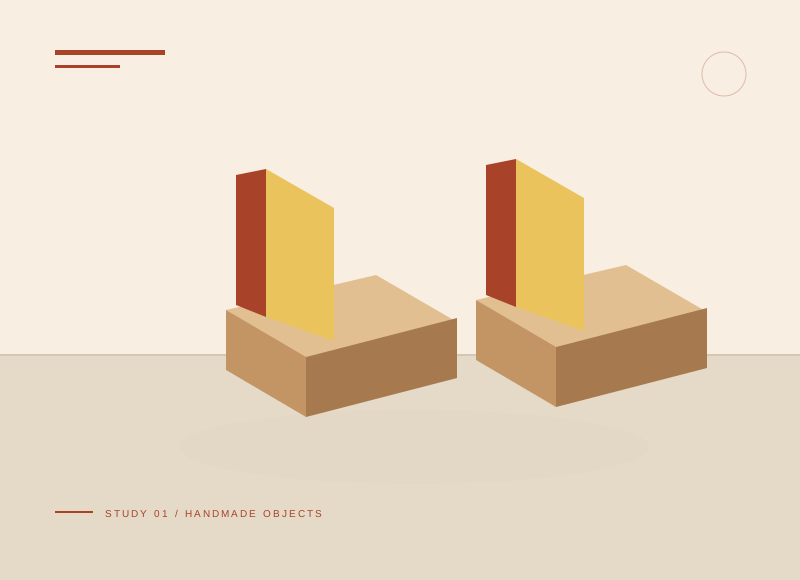
The illustration is a concept, not a scale drawing or a record of a tested build. Use a full-size template or dry fit to check the written layout with your actual materials.
Gather your materials
Tools to have nearby
Choose materials deliberately
Make it, step by step
Measure the upright
Record its width and height while leaving the base uncovered.
Prototype a sleeve
Fold scrap paper over the upright and check that it does not obstruct the support.
Check before moving onPlace a book against the paper prototype to check that the new layer does not change the intended contact geometry.
Cut final covers
Transfer the net to colored card and score folds, placing tabs at the back.
Add graphic shapes
Try a contrasting stripe or paper block and compare the pair.
Fit and test
Tape the sleeve to itself. Stay within the capacity and arrangement of the original bookends.
Check before moving onTest with a modest arrangement already suitable for the original bookends; this sleeve adds no rated support.
Troubleshoot this project
Why does a bookend slide after decorating?
What to check. The sleeve may overlap the base or interfere with the original grip area.
Next move. Remove it and redesign with the base completely clear. Do not try to compensate by adding more books.
Why is the rear seam opening?
What to check. The card may be too tight around a curved upright.
Next move. Add fitting ease in the prototype and move the seam to a flatter section.
The final check
The original base remains flat and the sleeve does not reduce stability.
The card decorates the support; it does not make it stronger.
Record your actual sizes, material changes, and the result of your fit check in your project notebook. Keep the product name with any finish or adhesive sample.
Use a stable work surface and tools within your experience. Follow the exact tool and product instructions for preparation, dust control, ventilation, and cure. These decorative concepts have no structural load rating. Stop if the material or existing finish cannot be identified.