Fit, dimensions & layout
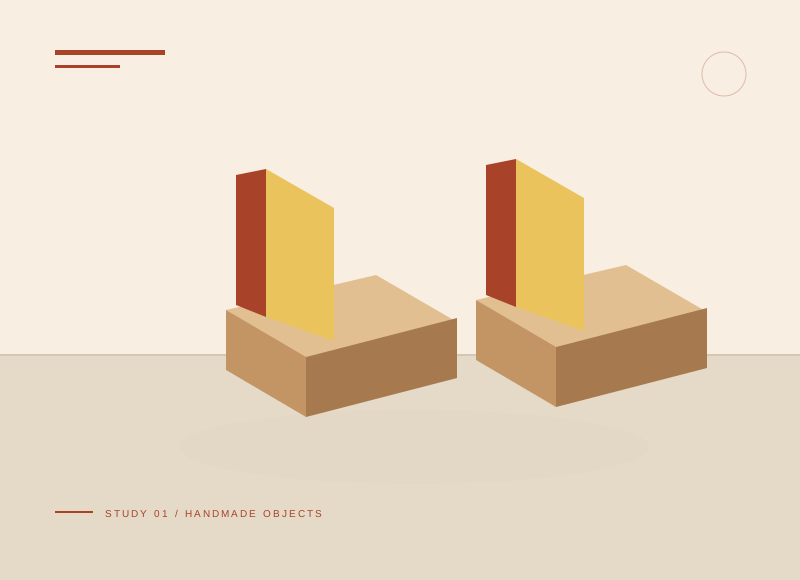
The 180 mm top rests on a 51 mm-high perimeter, giving 60 mm total height with a 9 mm top. For actual wall thickness t, the short walls are 180 − 2t mm. Check the top thickness separately because changing it changes finished height. Use a paper footprint to confirm the intended object fits entirely over the plinth.
The illustration is a concept, not a scale drawing or a record of a tested build. Use a full-size template or dry fit to check the written layout with your actual materials.
Gather your materials
Tools to have nearby
Choose materials deliberately
Make it, step by step
Read the cut list
The 51 mm walls sit under the 9 mm top. Short walls fit between the long walls.
Dry-fit the shell
Arrange walls below the top and check alignment, adjusting for actual material thickness.
Check before moving onLabel the two long and two inset walls, then compare paired heights before adding glue.
Join the walls
Glue the corners on a flat surface and check diagonals under light pressure.
Attach the top
When walls can be handled, glue the top evenly with protected clamps or suitable weights.
Check before moving onUse small registration pencil marks under the top so it returns to the same checked position.
Cure and place
Wait for cure, soften edges, and add felt. Use for light decor, never as a step or seat.
Troubleshoot this project
Why does the top overhang one side?
What to check. The perimeter may be out of square or shifted during clamping.
Next move. Dry-fit the top and mark registration corners before gluing, then recheck overhangs on all sides.
Why does the plinth rock?
What to check. Wall heights may differ or one corner may not sit on the reference surface.
Next move. Inspect the empty cured shell on a level surface. Correct inaccurate parts rather than hiding a large mismatch with felt.
The final check
The plinth does not rock and its perimeter joints are closed.
Keep mating glue surfaces bare if you choose to paint inside faces before assembly.
Record your actual sizes, material changes, and the result of your fit check in your project notebook. Keep the product name with any finish or adhesive sample.
Use a stable work surface and tools within your experience. Follow the exact tool and product instructions for preparation, dust control, ventilation, and cure. These decorative concepts have no structural load rating. Stop if the material or existing finish cannot be identified.