Fit, dimensions & layout
Measure the actual tube diameter and circumference after choosing a sound blank. A roughly 90 mm tube needs a wider base if your intended pencils make it unstable. Create one paper wrap slightly longer than the measured circumference for a neat rear overlap. Place the second color band so it does not build a bulky ridge at the base.
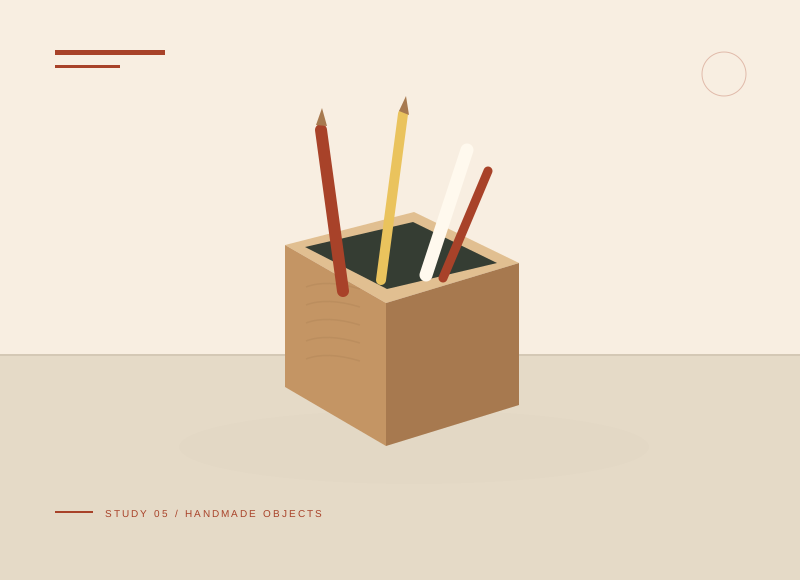
The illustration is a concept, not a scale drawing or a record of a tested build. Use a full-size template or dry fit to check the written layout with your actual materials.
Gather your materials
Tools to have nearby
Choose materials deliberately
Make it, step by step
Inspect the tube
Use a clean thick-walled tube with smooth ends. Choose tools appropriate for any trimming.
Laminate a base
Trace and glue two matching discs, making them slightly wider if needed for balance.
Check before moving onTrace the actual tube and compare the cut discs against it; leave no sharp card projection.
Join upright
Attach the tube centrally and allow the glue to set.
Wrap two colors
Add a paper base color and one contrasting band, with seams at the back.
Check before moving onAlign both rear seams on the same line so the front color band remains uninterrupted.
Try a light load
Add a few pencils after drying. Widen the base if the pot tips easily.
Troubleshoot this project
Why does the paper wrap wrinkle?
What to check. The tube may be tapered or the paper may have been stretched and glued unevenly.
Next move. Test a dry wrap and use a fitted template if the upper and lower circumferences differ.
Why does the pot tilt?
What to check. The base may be too small or the loaded pencils too tall and unevenly distributed.
Next move. Try a wider base and a lighter contents set in the prototype before finishing the outer paper.
The final check
The base holds and the filled pot is stable.
A short broad form is more forgiving than a tall narrow tube.
Record your actual sizes, material changes, and the result of your fit check in your project notebook. Keep the product name with any finish or adhesive sample.
Use a stable work surface and tools within your experience. Follow the exact tool and product instructions for preparation, dust control, ventilation, and cure. These decorative concepts have no structural load rating. Stop if the material or existing finish cannot be identified.